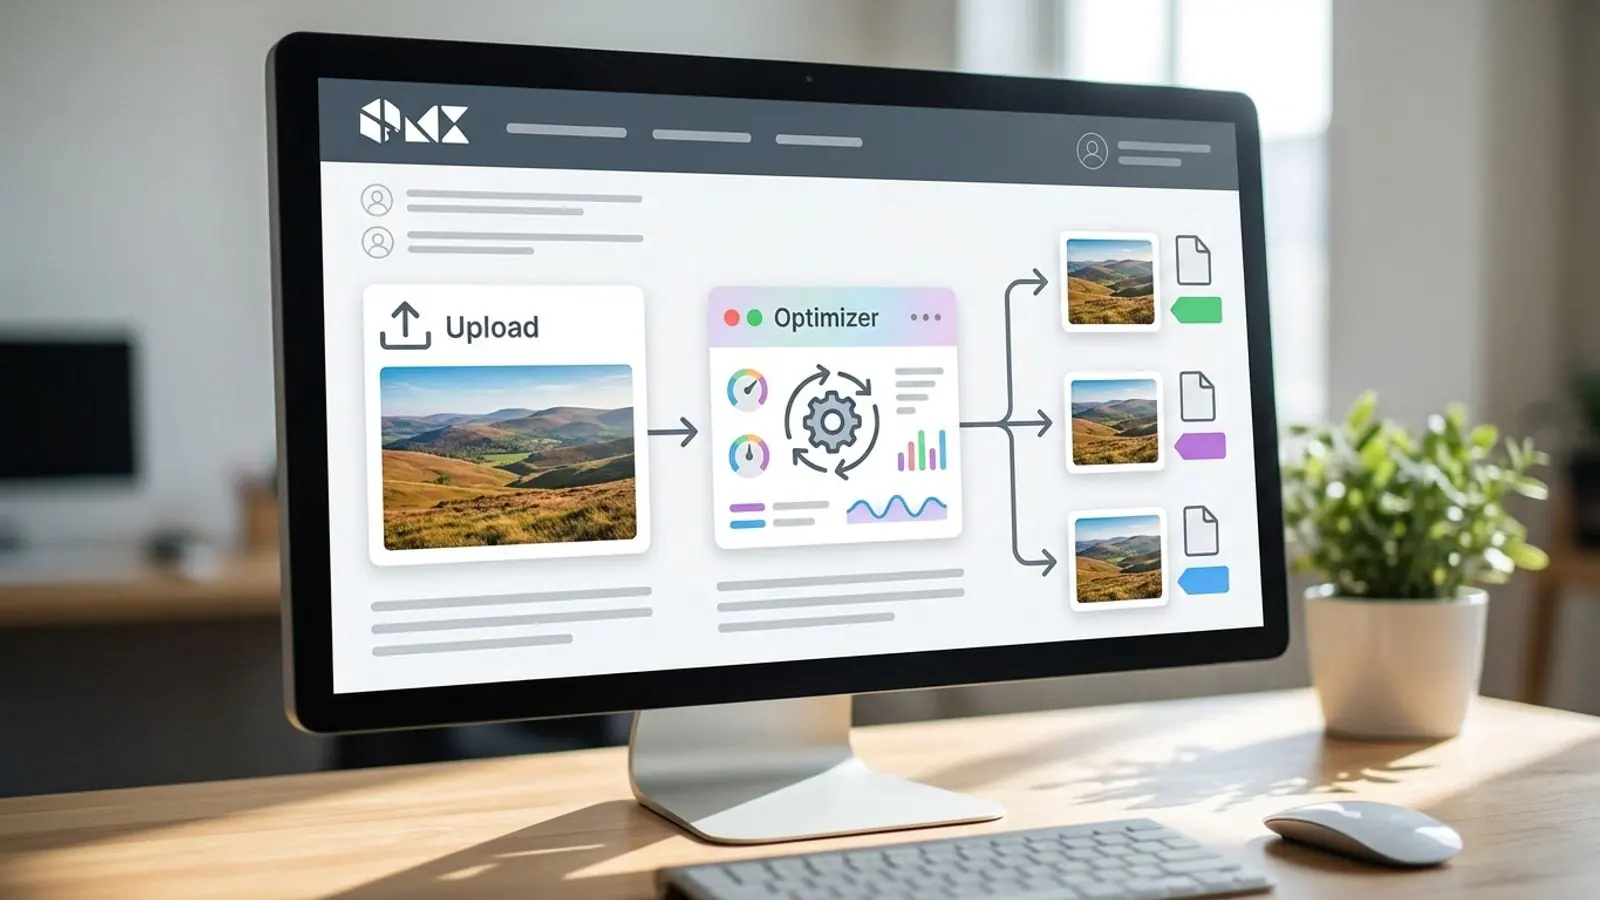
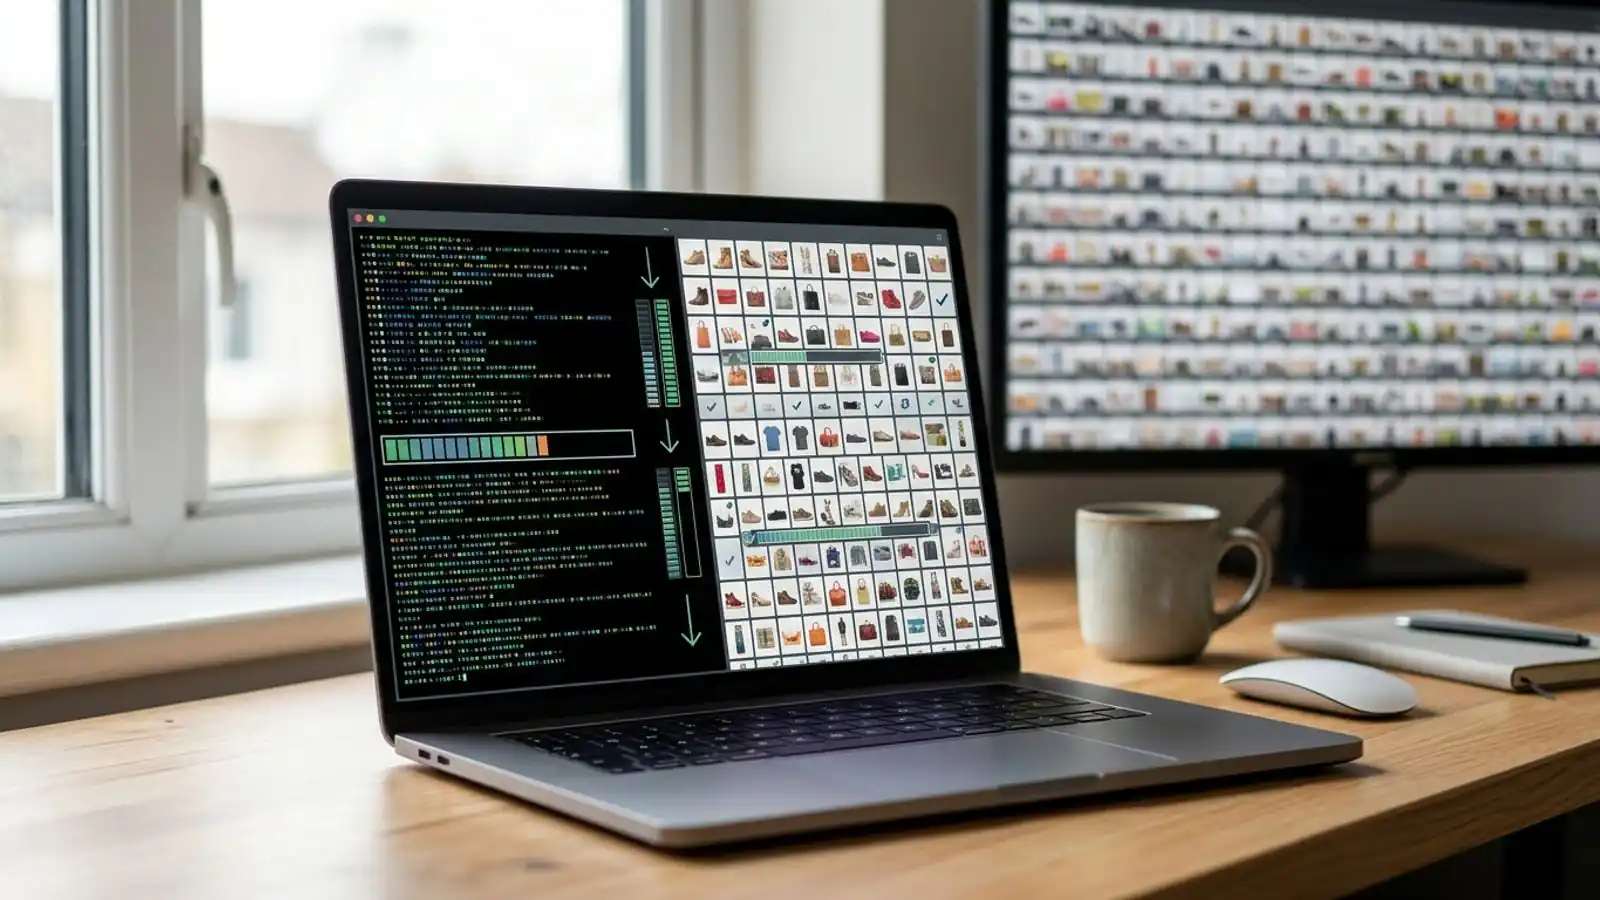
HEIC from iPhone to Web: Convert and Compress Without Ruining Skin Tones
iPhone HEIC photos break web upload pipelines and often lose accurate skin tones when converted. Here's how to convert HEIC to WebP or JPEG while keeping color, orientation, and detail intact.
Mike · · · 9 min read · 1,868 words
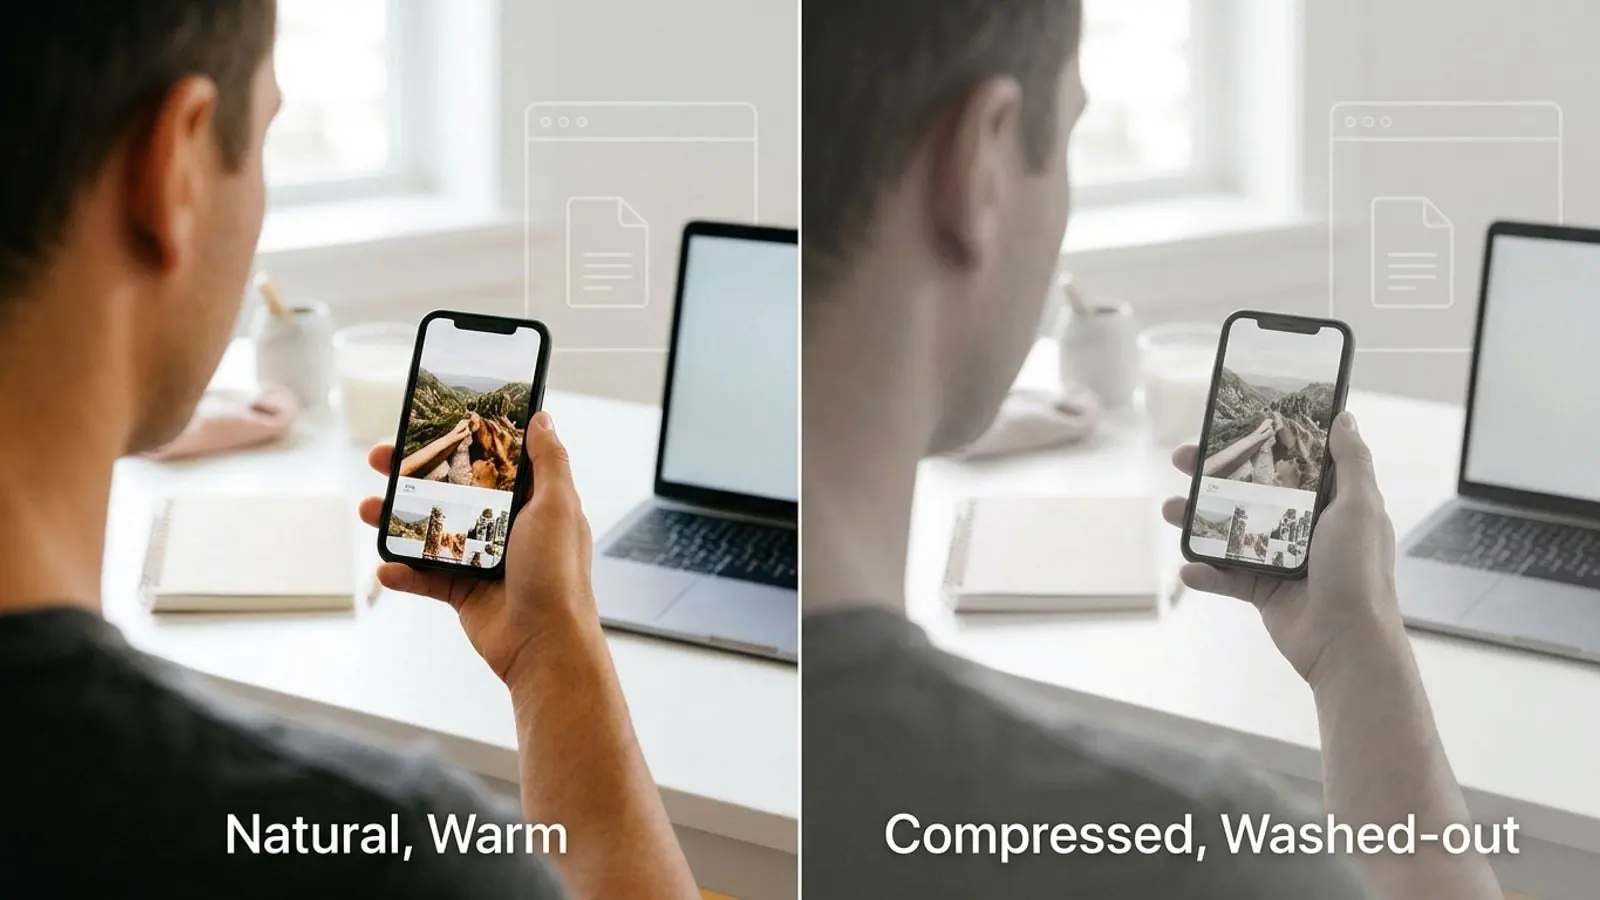
Heic from iphone to is easier when you start with a clear default and a quick visual check.
Why HEIC is a problem for web apps
iPhones save photos as HEIC by default. The format makes sense on the phone: HEVC compression gives you small files with good quality. Once those files reach a web app, though, they cause trouble.
As of 2026, Safari (version 17 and later on macOS and iOS) is the only browser that reliably shows HEIC in an <img> tag. Chromium-based browsers and Firefox either don't decode it or only decode it on some platforms with the right OS codecs installed. The cause is HEVC patent licensing, not a technical gap, so expect this to stay the same for a while. Meanwhile, AVIF and WebP work in every major browser.
So treat HEIC as an ingest format. Accept it, decode it, and never serve it to browsers. If you need to convert HEIC to WebP, JPEG, or AVIF, the hard part is doing it without the faces in the photo turning slightly grey, orange, or plastic-looking.
This guide covers what an iPhone HEIC file actually contains, where color and quality get lost, and a pipeline that protects them.
What's inside an iPhone HEIC file
A HEIC file is a container, not a single bitmap. A typical iPhone photo can include:
- A tiled primary image. The visible photo is often stored as a grid of HEVC-coded tiles that the decoder stitches back together. Older or partial decoders sometimes return a single tile or the thumbnail instead of the full image.
- A wide-gamut color profile. iPhone photos are usually tagged Display P3, not sRGB. This matters most for skin tones (more on this below).
- Orientation transforms. Rotation and mirroring can be stored as container properties, in EXIF, or both.
- Auxiliary images. Depth maps, portrait-mode mattes, and on newer models an HDR gain map that tells capable displays how to show brighter highlights.
- Metadata. EXIF fields such as camera model, capture time, and often GPS coordinates.
Live Photos store their motion as a separate video file, so a HEIC upload only carries the still frame.
Each of these is something a careless conversion can drop or misread.
Where skin tones go wrong
Skin is the hardest content in consumer photos. People notice a small hue shift on a face long before they'd notice it on a sky or a wall. Most skin-tone damage in HEIC-to-web pipelines comes from five causes.
1. Dropped or ignored color profile
This one causes the most damage. The pixel values in a Display P3 image only make sense when read through the P3 profile. If a converter strips the profile, or a decoder ignores it and treats the values as sRGB, the image looks flatter and less saturated. Warm skin turns sallow, and lips and cheeks lose their color.
You can fix it in one of two ways:
- Convert to sRGB during processing, then optionally drop the profile. sRGB is the assumed default on the web.
- Keep P3 and embed the ICC profile in the output so color-managed browsers render it correctly.
For most user-generated content, converting to sRGB is the safer choice. The output is predictable everywhere, and P3's extra gamut rarely shows up visibly in portraits viewed on a phone.
2. Chroma subsampling, twice
Both iPhone HEIC and lossy WebP store color at lower resolution than brightness (4:2:0). Lossy WebP only supports 4:2:0. When you re-encode, you subsample color that was already subsampled. You'll notice it on saturated reds, such as lips, flushed skin, and red clothing next to skin, where color bleeds past edges.
Mitigations:
- Use libwebp's sharp YUV conversion (
-sharp_yuvincwebp,webp:use-sharp-yuv=truein ImageMagick). It's slower, but it keeps color edges cleaner. - Use AVIF with 4:4:4 if the image is high-value and you can afford the encode time.
- Use high-quality JPEG with 4:4:4 if JPEG is your target.
3. Over-compression smooths texture
At aggressive quality settings, lossy encoders spend fewer bits on low-contrast detail, and skin texture is exactly that. The result is the "plastic" look: pores and fine hair disappear, and smooth gradients on cheeks and foreheads can band or block. Lower quality numbers make it worse, and so does resizing after compression instead of before.
4. HDR gain maps and tone mapping
Recent iPhones may store an HDR gain map alongside the standard image. Most web conversion pipelines should decode the SDR base image and ignore the gain map. Trouble starts when a tool tries to tone-map the HDR rendition into SDR with the wrong parameters. Highlights on skin clip or turn grey, and the whole image can look washed out. Unless you are intentionally shipping HDR images, take the SDR primary image and don't try to reconstruct HDR.
5. Orientation applied twice (or not at all)
This isn't a color problem, but it's the most common bug in user reports. The decoder applies the rotation, the EXIF orientation tag is copied into the output anyway, and the browser rotates the image a second time. Bake the orientation into the pixels once, then reset or strip the orientation tag.
Choosing the output format
| Target | Use when | Skin-tone notes | Watch out for |
|---|---|---|---|
| WebP (lossy) | Default for web display, feeds, thumbnails | 4:2:0 only; enable sharp YUV | Plastic texture at low quality |
| JPEG | Maximum compatibility: email, exports, third-party integrations | Can do 4:4:4 at higher quality | Larger files than WebP/AVIF at similar quality |
| AVIF | Hero images, portfolios, high-value photos | Supports 4:4:4 and higher bit depth | Slower encodes; tune effort/speed |
| PNG | Almost never for photos | Lossless, but huge | File size |
| HEIC (passthrough) | Archive of the original only | N/A | Don't serve to browsers |
A common setup: store the original HEIC, generate WebP for display, use AVIF in a <picture> element for large images where it pays off, and generate JPEG on demand for downloads or exports. If you only need one format and want to convert HEIC to WebP, that covers nearly all browsers in use as of 2026.
Designing the HEIC web upload pipeline
Don't rely on the client to convert for you
In many configurations, iOS hands web file inputs a JPEG instead of the original HEIC. Which one you get depends on the picker, the accept attribute, and the iOS version. Desktop users drag in HEIC files AirDropped from their phones. Android devices can produce HEIF too. Your server has to handle HEIC no matter what the front end does.
Client-side conversion with a WebAssembly build of libheif is an option when you want to save upload bandwidth or keep originals on the device. Lazy-load it, because the bundle is large, and handle the color profile there as carefully as you would on the server.
Detect by content, not by name
- Don't trust the file extension or the browser-reported MIME type. Some platforms report an empty type for
.heic. - Read the
ftypbox near the start of the file and check for brands such asheic,heix,mif1, ormsf1. - Accept
image/heicandimage/heif, but validate the bytes.
Make sure your decoder actually supports HEVC
Server-side HEIC decoding usually goes through libheif with an HEVC decoder such as libde265. Common traps:
- Some prebuilt image-library binaries ship with AVIF support but without HEVC decoding, for the same licensing reasons browsers avoid it. In Node with sharp, for example, HEIC input typically requires a custom libvips build with libheif and an HEVC decoder.
- Older decoders may not stitch grid images and return a low-resolution tile or thumbnail instead. Test with real photos from recent iPhones, not a sample file from 2018.
The processing order that protects quality
- Decode the primary image (full grid, not the thumbnail).
- Apply orientation to the pixels, then reset the orientation flag.
- Convert color from the embedded profile (usually Display P3) to sRGB, or keep it and plan to embed it.
- Resize to your largest display size. iPhone photos are far larger than any web layout needs.
- Encode once to the target format at a sensible quality.
- Strip private metadata, especially GPS, unless your product explicitly needs it.
- Store the original so you can re-encode later without generational loss.
Example: command-line reference
With ImageMagick built with HEIC support:
magick input.heic \
  -auto-orient \
  -profile sRGB.icc \
  -resize '2048x2048>' \
  -strip \
  -quality 82 \
  -define webp:use-sharp-yuv=true \
  output.webp
-profile sRGB.icc converts from the embedded profile to sRGB. -strip then removes metadata, including GPS. Because the pixels are already sRGB, dropping the profile is safe.
With libheif's tools and libwebp, if you'd rather keep P3:
heif-dec input.heic intermediate.png   # older libheif versions: heif-convert
cwebp -q 82 -sharp_yuv -metadata icc intermediate.png -o output.webp
Check that your intermediate PNG keeps the ICC profile. If it doesn't, you've reintroduced the washed-out problem.
Quality starting points (not benchmarks)
These are reasonable defaults to test against your own content, not universal answers:
- WebP: begin around quality 78–85 for photos with faces. Go lower for small thumbnails, where texture loss is less visible.
- JPEG: begin around 80–88. Prefer 4:4:4 for portrait-heavy content if size allows.
- AVIF: quality scales differ between encoders. Calibrate by comparing visually rather than copying a number from another tool.
Judge on real devices. Compare crops of faces at 100% next to the original, under the same color management. Don't compare a P3 original on a P3 screen against an sRGB output on a different monitor and conclude the encoder failed.
iPhone photo compression checklist
Use this before shipping a HEIC web upload feature:
- [ ] Server decodes HEIC with an HEVC-capable libheif build
- [ ] Files are detected by
ftypbrand, not extension or MIME alone - [ ] Full grid image is decoded, not the embedded thumbnail
- [ ] Orientation is applied once and the tag is reset
- [ ] Display P3 is converted to sRGB, or the ICC profile is embedded in the output
- [ ] HDR gain map is ignored unless you intentionally support HDR
- [ ] Images are resized before encoding
- [ ] WebP uses sharp YUV; AVIF/JPEG use 4:4:4 where portraits matter
- [ ] Only one lossy encode from the original
- [ ] GPS and other sensitive EXIF are stripped by default
- [ ] Original HEIC is retained for future re-encodes
- [ ] Visual QA on real iPhone photos with faces, across skin tones and lighting
HEIC to JPEG or WebP: a quick rule
- Pick HEIC to JPEG when the file leaves your app, as in downloads, email, or partner systems with unknown decoders.
- Pick HEIC to WebP for anything your own front end displays.
- Add AVIF for the largest, most important images if your encode budget allows.
Whichever you choose, color handling and orientation do more for perceived quality than the format itself.
Try it on Comprestack
To test a few iPhone photos before building the pipeline, use Comprestack Convert. It turns HEIC into WebP, JPEG, or AVIF in the browser and lets you compare quality settings on your own images. When you're ready to automate, the API docs cover batch conversion and compression from your backend, and pricing lists the guest, account, and pack options. Platforms that need a branded conversion UI or API for their own customers can look at White label.
Try it on your images
Compress or convert in the browser — same quality-first pipeline we write about.