How to Cut Image Weight 60–80% Without Looking Soft (A Practical Pipeline)
A five-step image compression pipeline: audit, format, quality, dimensions, and CDN delivery. Use it to cut image weight sharply while keeping detail, text edges, and gradients clean.
Mike · · · 10 min read · 2,017 words
How to cut image is easier when you start with a clear default and a quick visual check.
Why image weight is usually the easiest win
On most content and commerce pages, images make up more of the transferred bytes than anything else. They are also the easiest part to fix, because the savings rarely come from one clever setting. They come from several plain decisions made in the right order.
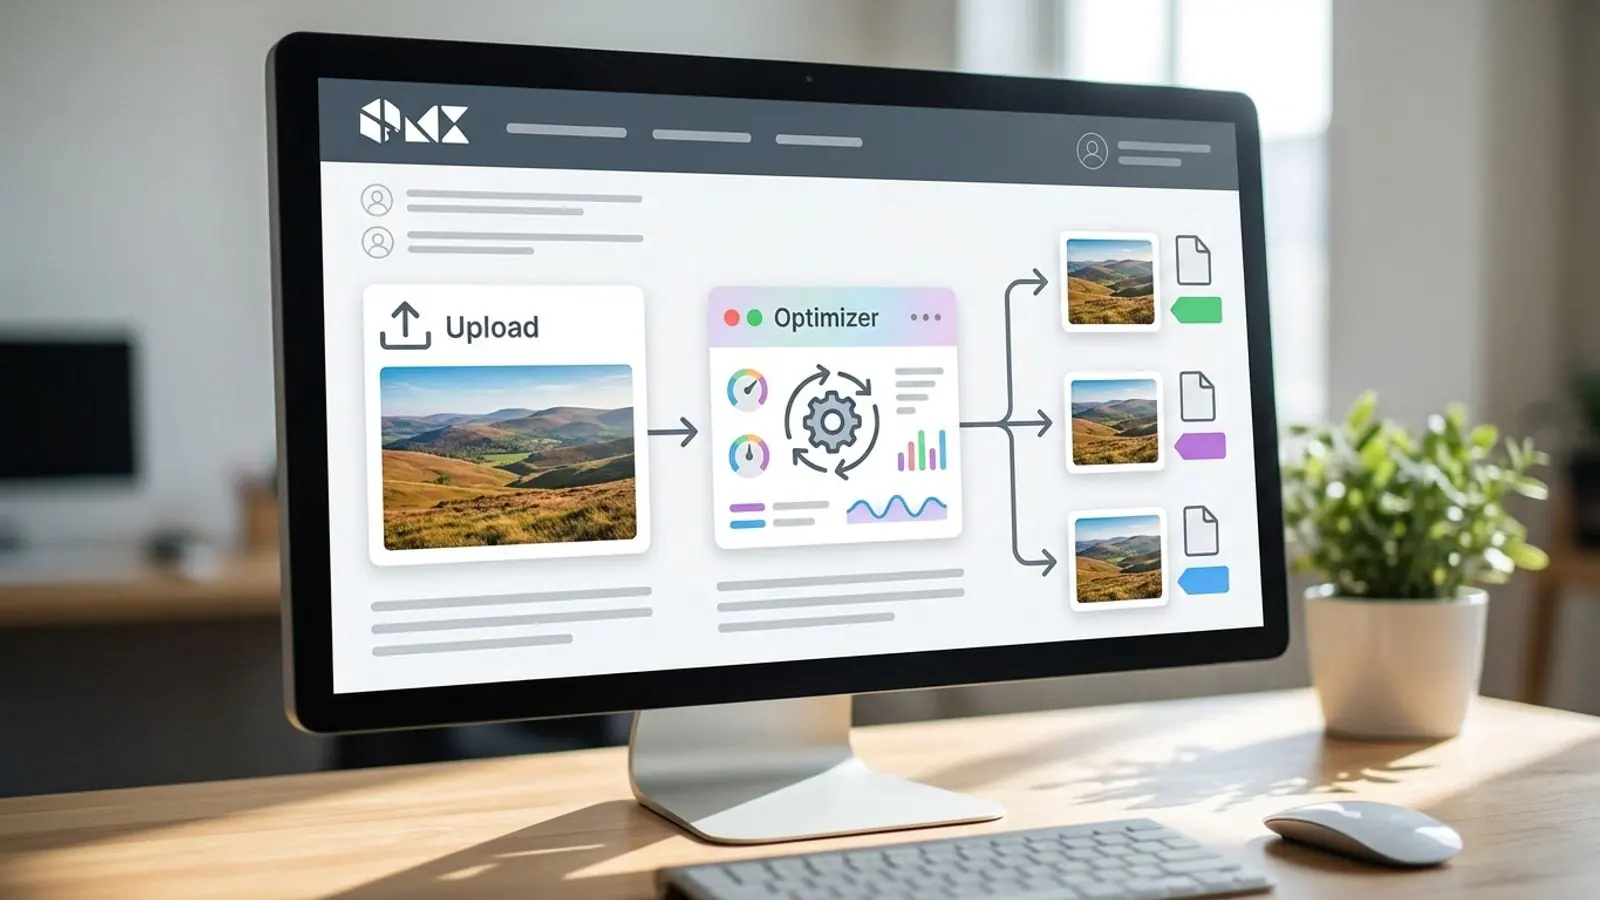
This guide walks through that order: audit → format → quality → dimensions → CDN. Applied to unoptimized source images such as camera exports, design-tool PNGs, or CMS uploads served as-is, the steps together often cut total image weight by 60–80%. On a site that is already partly optimized the savings will be smaller. The point is to make each byte you remove a byte nobody would have noticed.
A note on the phrase "compress images without quality loss." Strictly speaking, only lossless compression keeps every pixel. In practice, what most teams want is no visible quality loss at the size the image is actually displayed. This pipeline aims for that, and it tells you when to stay truly lossless.
The pipeline at a glance
| Step | Question it answers | Main lever | Risk if skipped |
|---|---|---|---|
| 1. Audit | What are we shipping, and what does it cost? | Measurement | Optimizing the wrong files |
| 2. Format | What codec suits this content? | AVIF / WebP / PNG / SVG | Photos stored as PNG, text blurred by lossy codecs |
| 3. Quality | How much loss is invisible? | Encoder quality, chroma, metadata | Soft or blocky output, or wasted bytes |
| 4. Dimensions | How many pixels does the layout need? | Resizing, srcset |
Sending 4–25× more pixels than displayed |
| 5. CDN | How is it delivered and cached? | Caching, negotiation, priority | Good files delivered slowly or re-encoded twice |
Steps 2–4 interact. Step 4, sizing, is usually the biggest single win, but the order matters for decisions. You need to know the content type before you can judge quality, and you need a baseline before any of it means anything.
Step 1: Audit what you're actually shipping
Before you change any settings, get a baseline.
- Open DevTools → Network, filter by Img, and sort by size. Write down the total image bytes, the number of requests, and the ten largest files.
- Compare intrinsic and rendered size. Hover an image in the Elements panel to see both. A 3200px-wide hero rendered at 1200px CSS width is your first target.
- Run Lighthouse or PageSpeed Insights. The image-related audits flag oversized images, inefficient encoding, and legacy formats. Recent Lighthouse versions group these into a combined image-delivery insight, but they check the same things.
- Identify the LCP element. If the Largest Contentful Paint element is an image, that file gets the most attention and the most careful delivery (see Step 5).
- Check metadata. Camera and phone exports often carry EXIF blocks, GPS data, embedded thumbnails, and large ICC profiles. Removing EXIF, GPS data, and embedded thumbnails doesn't change how the image looks, and stripping location data is good privacy practice anyway. Be careful with ICC profiles. Removing an embedded profile can change how colors appear, so either keep it or convert the image to a known color space (such as sRGB) before removing it.
Keep the baseline. You'll need it to show that the work paid off, and to catch regressions later.
Step 2: Choose the format per image type
Lossless vs lossy compression, briefly
- Lossless compression (PNG, lossless WebP, lossless AVIF) rebuilds the original pixels exactly. Use it when every pixel matters: screenshots with small text, pixel art, diagrams, and masters you will edit again.
- Lossy compression (JPEG, lossy WebP, lossy AVIF) throws away information the eye is unlikely to miss, mostly fine high-frequency detail and color resolution. For photographs, lossy output at a sensible quality setting looks the same as the original at display size and is many times smaller.
Using PNG for photos is one of the most common causes of bloated pages. Using aggressive lossy settings on UI screenshots is the most common cause of a "blurry" complaint.
Decision table
| Content | Primary format | Fallback | Notes |
|---|---|---|---|
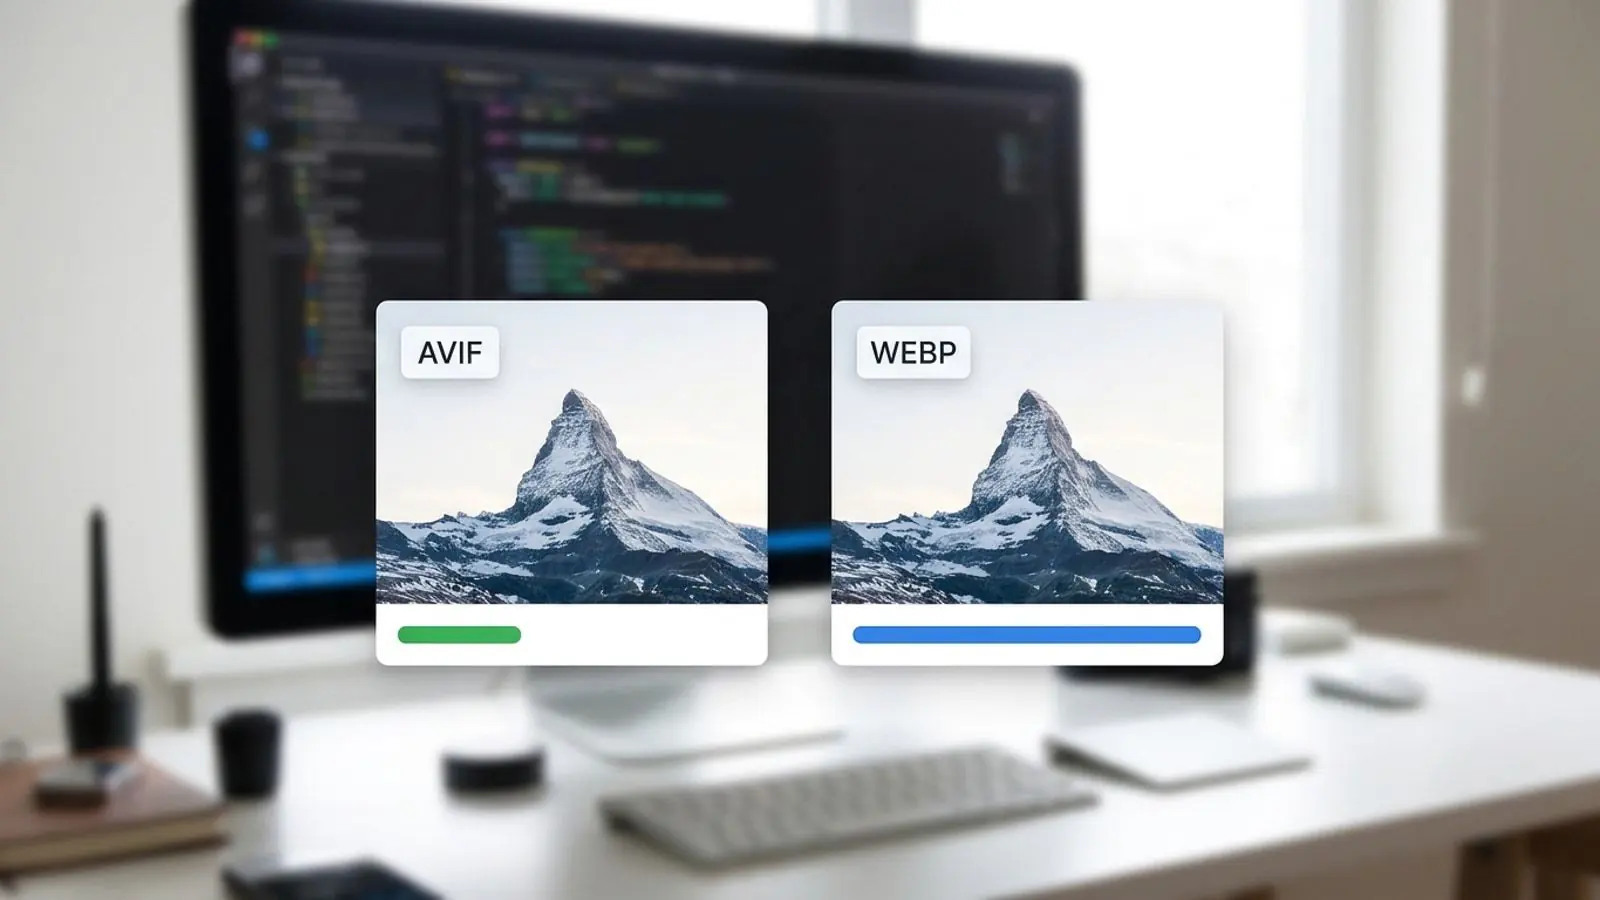
| Photographs, hero images | AVIF (lossy) | WebP or JPEG | AVIF usually wins on bytes; WebP encodes faster |
| Photos with transparency | AVIF or WebP with alpha | PNG | Avoid 24-bit PNG for photographic cutouts |
| Screenshots, UI, text-heavy | Lossless WebP or PNG | PNG | Try palette-quantized PNG for flat UI |
| Logos, icons, simple illustrations | SVG | PNG | Minify the SVG; remove editor metadata |
| Animations | MP4/WebM video | Animated WebP | GIF is almost always the heaviest option |
Browser support, as of 2026
- WebP works in all current major browsers. It is a safe default and needs no fallback for current audiences.
- AVIF is supported in current Chrome, Edge, Firefox, and Safari (Safari added it in version 16). Older Apple devices that cannot update Safari are the main gap, so ship a fallback.
- JPEG XL support still differs between browsers and release channels. It is worth watching, but don't make it your only delivery format without a fallback.
The <picture> element handles the fallback for you. The browser picks the first <source> it understands:
<picture>
  <source type="image/avif" srcset="hero-1200.avif">
  <source type="image/webp" srcset="hero-1200.webp">
  <img src="hero-1200.jpg" alt="Product on a workbench"
       width="1200" height="675">
</picture>
Step 3: Set quality by eye, not by default
"Quality 80" is not a universal constant. Each encoder maps its quality number to compression strength differently, so JPEG at 80, WebP at 80, and AVIF at 80 produce very different files. Treat the ranges below as starting points for testing, not targets:
- JPEG (with a modern encoder such as MozJPEG): start around 75–82.
- WebP lossy: start around 70–80.
- AVIF: starting points are often lower on the nominal scale. Depending on the encoder, settings, and image, AVIF can produce blur, blocking, ringing, or other artifacts, so begin in the mid range and adjust by eye.
Where "soft" actually comes from
Over-compressed images rarely look blocky with modern codecs. They look soft: skin turns waxy, foliage smears, and fine fabric texture disappears. The usual causes:
- Too-low AVIF/WebP quality. These codecs smooth away detail before they show obvious artifacts.
- Generational loss. Re-encoding an already-compressed JPEG stacks the losses. Always encode from the highest-quality master available.
- Poor resampling. Downscaling with a bilinear filter blurs more than Lanczos or similar filters.
- Chroma subsampling on graphics. 4:2:0 subsampling is fine for photos but smears colored text and thin red or blue lines. Use 4:4:4 for graphics with saturated edges.
A repeatable visual check
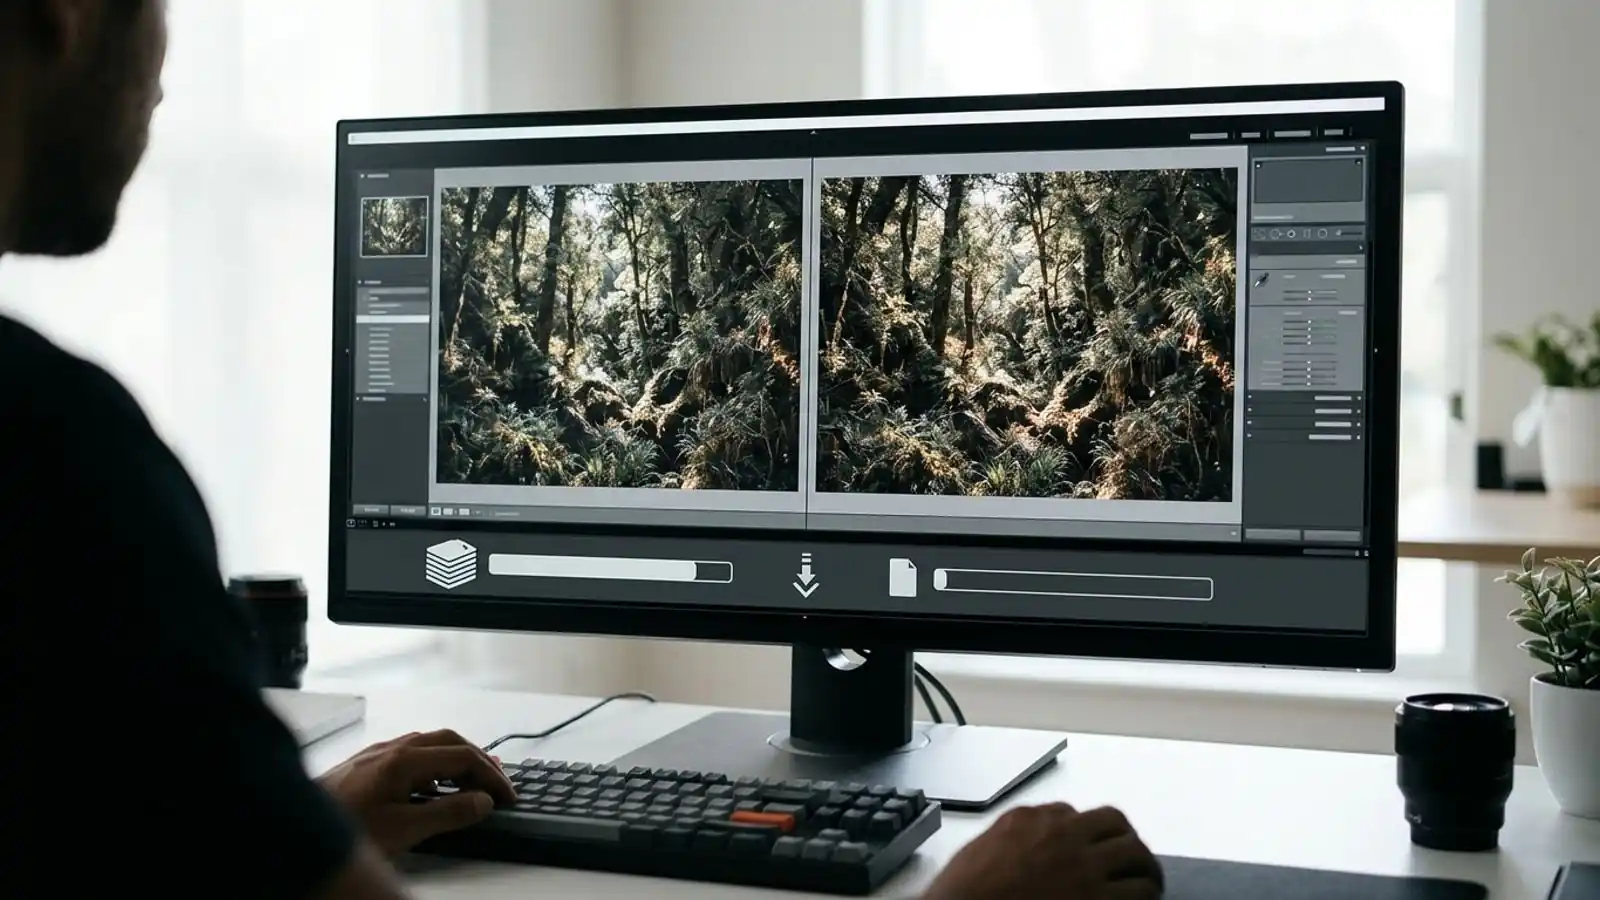
- Compare the original and the candidate side by side at 100% and 200% zoom, on the kind of screen your users have (including a high-DPI phone).
- Look at the hardest regions: hair, foliage, fabric, skin, soft gradients (watch for banding), and text edges.
- Pick the lowest quality setting where you can't see a difference at display size, then move one step higher as a safety margin for unusual images.
- At scale, use perceptual metrics such as SSIMULACRA 2, Butteraugli, or DSSIM to apply a consistent threshold instead of one fixed quality number. Content varies, so a fixed setting over-compresses some images and wastes bytes on others.
Also strip unneeded metadata at this stage. Keep the ICC profile, or convert to a known color space such as sRGB before removing it, so colors don't shift. Prefer progressive encoding for JPEG fallbacks so they render gradually on slow connections.
Step 4: Fix dimensions (usually the biggest win)
Pixel count grows with the square of the width. A 4000×3000 photo is 12 megapixels. The same photo at 800×600 is 0.48 megapixels, 25 times fewer pixels. No encoder setting comes close to that kind of reduction.
Size for the layout, not the camera
- Find the largest CSS width each image is rendered at, across your breakpoints.
- Generate variants at about 1× and 2× that width. For most photographic content, going above 2× adds bytes with little visible benefit, even on 3× phone screens.
- Let the browser choose with
srcsetandsizes:
<img
  src="card-800.webp"
  srcset="card-400.webp 400w, card-800.webp 800w, card-1600.webp 1600w"
  sizes="(min-width: 1024px) 400px, 100vw"
  width="800" height="533"
  alt="Close-up of a ceramic mug"
  loading="lazy" decoding="async">
Resize without going soft
- Use a high-quality resampling filter (Lanczos or similar).
- Add a light sharpening pass after a large downscale. Downscaling reduces local contrast, and a small unsharp mask brings back perceived crispness without halos.
- Resize first, then encode. Encoding a large image and then scaling it in the browser wastes bytes and decode time.
Layout hygiene
- Always set
widthandheight(or CSSaspect-ratio) so the browser can reserve space and avoid layout shift. - Use
loading="lazy"for images below the fold, but never on the LCP image.
Step 5: Deliver through a CDN with sane caching
Well-made files can still be slow if delivery is careless.
- Cache aggressively with fingerprinted filenames. Use
Cache-Control: public, max-age=31536000, immutableon hashed URLs (e.g.hero.3f9a2c.avif) and change the hash when the file changes. - Pick one negotiation strategy. Either use explicit
<picture>sources, or serve different formats from one URL based on theAcceptheader. If you do the latter, sendVary: Acceptso caches don't give AVIF to a client that can't decode it. - Prioritize the LCP image. Add
fetchpriority="high"to it, and preload it if it is discovered late (for example, a CSS background). - Avoid double encoding. If your CDN re-encodes images on the fly, either give it high-quality masters and let it handle compression, or turn its re-encoding off for files you have already tuned. Running lossy compression twice brings back the softness you worked to avoid.
- Use HTTP/2 or HTTP/3 so many small image requests don't queue behind one another.
Where the 60–80% comes from
The savings multiply rather than add. If a page serves photos at twice the needed width, correct sizing alone removes about three quarters of the pixels. Moving those photos from high-quality JPEG to AVIF or WebP at a visually matched quality usually cuts the remaining bytes noticeably, and stripping metadata trims a little more. Converting PNG photos to a lossy format often makes the largest single difference for those files.
Results vary with your starting point. A site serving untouched camera exports will see dramatic reductions. A site already serving resized WebP may gain 10–30% from tuning quality and adding AVIF. Measure against your Step 1 baseline instead of assuming a number.
Practical checklist
- [ ] Baseline recorded: total image bytes, request count, top 10 files, LCP element
- [ ] Metadata (EXIF, GPS, thumbnails) stripped from delivery files; ICC profile kept, or image converted to sRGB before removing it
- [ ] Photos use AVIF or WebP with a fallback; no PNG photographs
- [ ] Screenshots and text-heavy images use lossless WebP/PNG, or 4:4:4 chroma if lossy
- [ ] Logos and icons use minified SVG where possible
- [ ] Quality chosen by visual comparison at 100–200% zoom on hard regions
- [ ] Encoded from highest-quality masters, never re-encoded JPEGs
- [ ] Variants generated at ~1× and ~2× the rendered width, with
srcsetandsizes - [ ] Light sharpening applied after large downscales
- [ ]
width/heightset on every image - [ ] Below-the-fold images lazy-loaded; LCP image eager with
fetchpriority="high" - [ ] Long-lived, immutable caching on fingerprinted URLs;
Vary: Acceptif negotiating - [ ] No double lossy encoding between your pipeline and your CDN
- [ ] After-numbers compared to baseline and added to CI or regular checks
Common mistakes to avoid
- One global quality setting for every image type.
- Lazy-loading the hero, which delays LCP.
- Judging quality on a desktop monitor only, when most traffic comes from high-DPI phones.
- Optimizing once and letting new CMS uploads skip the pipeline. Automate it at upload or build time.
Try it on Comprestack
To test this pipeline on your own images, drop a few of your largest files into Comprestack Compress and compare JPG, PNG, WebP, and AVIF output side by side before you commit to settings. When you're ready to automate, the API docs cover building the steps into uploads or your build pipeline, and pricing lists the available plans. Agencies and platforms that want a branded version can look at White label.
Try it on your images
Compress or convert in the browser — same quality-first pipeline we write about.