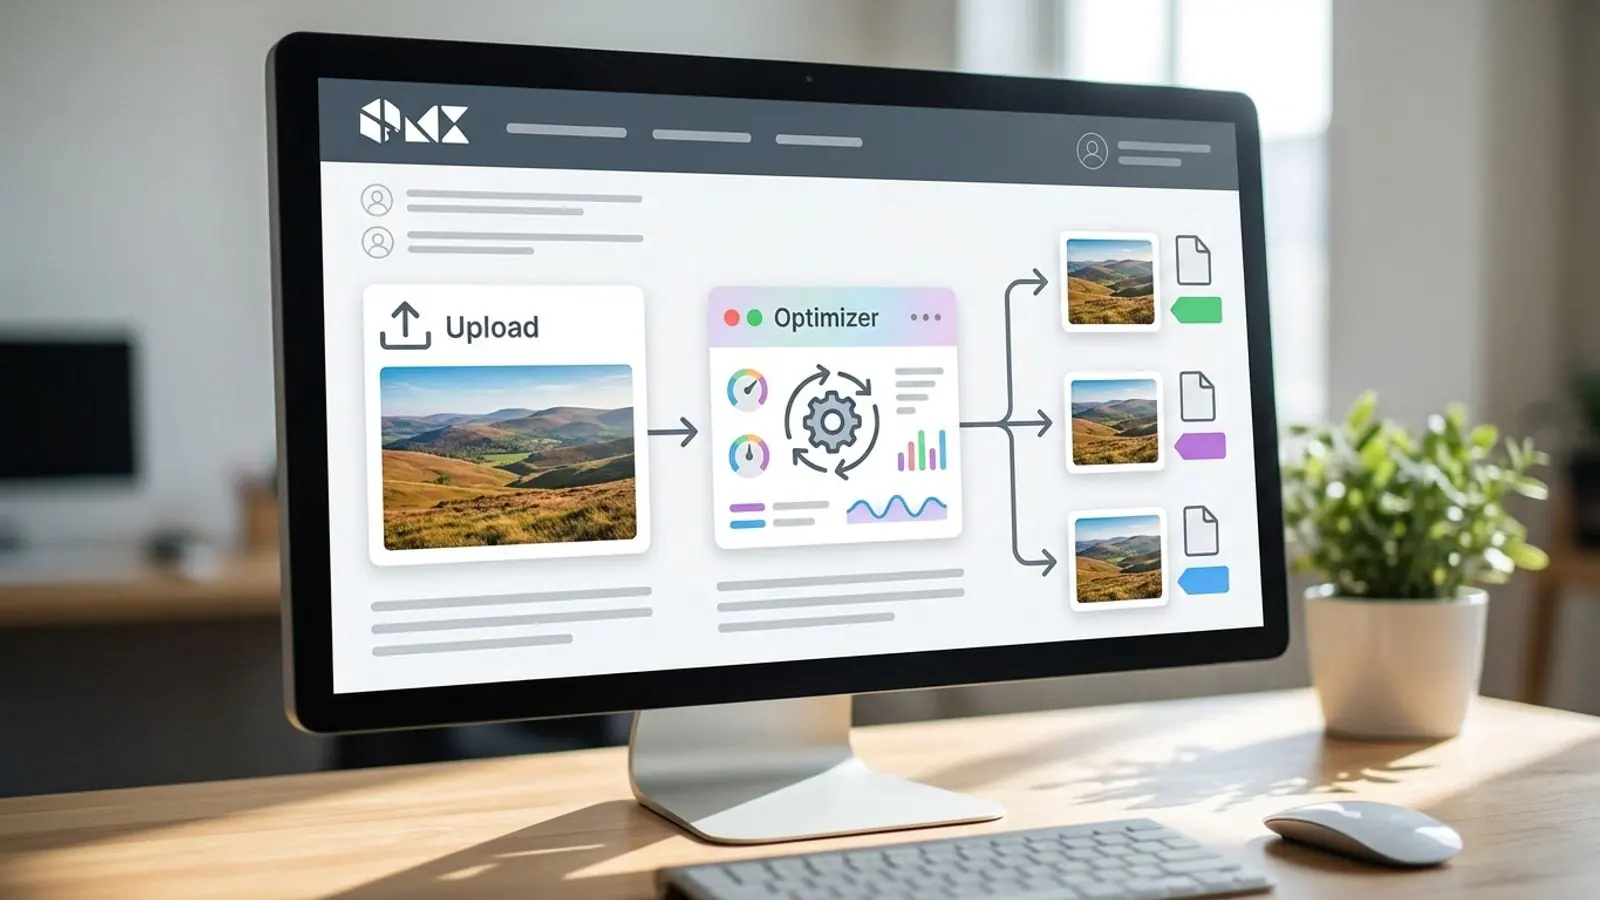
Shopify Product Images Are Too Heavy: A Compression Workflow That Keeps Detail
A practical Shopify image compression workflow: shoot, resize to a fixed master, compress once at safe quality, bulk process, and let the CDN handle delivery without losing product detail.
Mike · · · 10 min read · 2,021 words
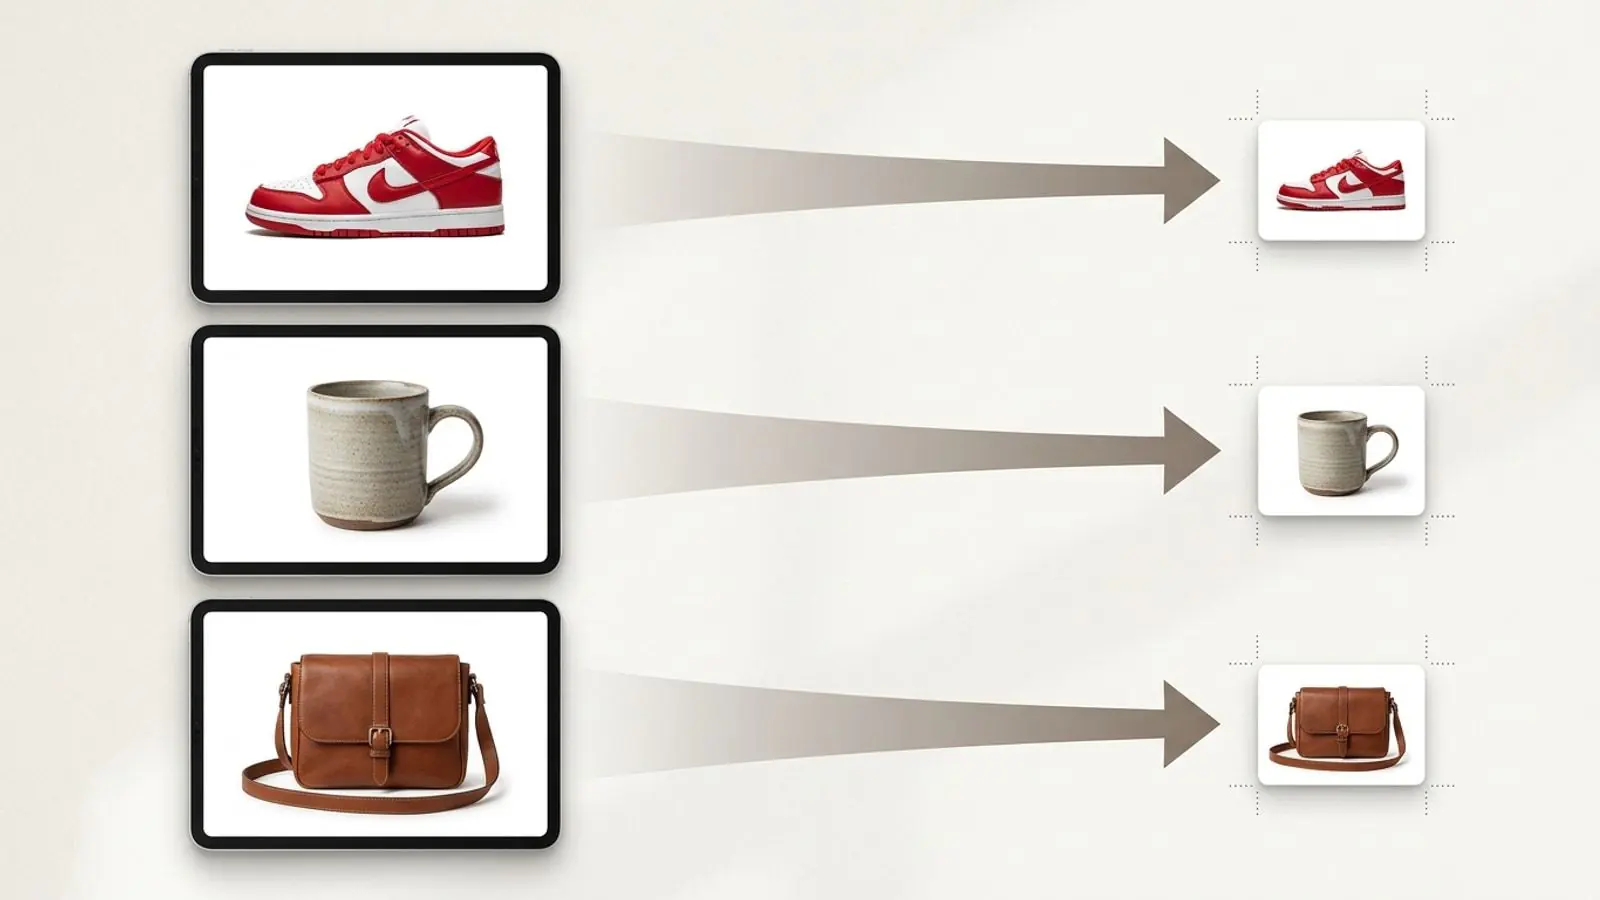
Shopify product images are is easier when you start with a clear default and a quick visual check.
Why Shopify product images get heavy
Most heavy Shopify catalogs have the same few problems. Camera exports go in at full resolution. Supplier photos arrive as 4–8 MB JPEGs. Photos get saved as PNG because the editing tool defaulted to it. And nobody owns the step between the photographer's folder and the product admin.
Shopify's CDN does a lot of the delivery work for you, so it helps to be clear about what it covers and what it leaves to you before you change anything.
What Shopify already does (as of 2026):
- Generates resized versions of each uploaded image for different theme slots (thumbnails, collection cards, product gallery, zoom).
- Negotiates the format per visitor. Shopify's Liquid
image_urldocumentation says the platform detects which formats the browser supports (WebP, AVIF and others) and picks one for quality and file size. - Caches the generated versions at the edge.
What it doesn't do:
- It won't fix an oversized or badly encoded original. Every version is derived from the file you upload. If the source already has blocky JPEG artifacts, the WebP or AVIF made from it keeps them.
- It never upscales. The
image_urlfilter won't make an image larger than its original dimensions, so a small source puts a hard limit on zoom. - It doesn't cover images served outside the CDN pipeline: hardcoded URLs in custom HTML, some CSS backgrounds, app-injected widgets, product feeds and email templates that point at the original file.
So you don't need to convert files to a "next-gen format" before upload. The CDN already handles that. What you need is a clean, correctly sized, sensibly compressed master. That's the real job of Shopify image compression, and the rest of this guide is a repeatable way to do it.
The workflow at a glance
The order matters, because each stage depends on the one before it:
- Shoot. Capture enough detail for zoom, with a consistent framing and aspect ratio.
- Resize. Bring every image to one fixed master size.
- Compress. Encode once, at a quality that survives Shopify's own re-encoding.
- Upload. Push the masters to Shopify through the admin, a CSV import or the Admin API.
- CDN. Let Shopify generate the smaller versions and negotiate the format.
- Verify. Check the actual bytes delivered on a real product page.
Steps 2 and 3 are where catalogs lose detail or carry extra weight. They're also the steps you can automate.
Step 1: Shoot and export for the catalog, not the archive
Keep your RAW or full-resolution TIFF files as the archive. The catalog export is a separate deliverable.
- Pick one aspect ratio per collection. Square (1:1) is the common default. Apparel and footwear often use 4:5 portrait. A mixed grid looks worse than either one used consistently.
- Leave consistent padding around the product so thumbnails crop predictably.
- Export in sRGB. Wide-gamut profiles such as Adobe RGB or Display P3 can shift colour once metadata is stripped or a browser handles the profile differently.
- Export to a high-quality intermediate, either a high-quality JPEG or a 16-bit TIFF from your editor. Don't compress hard at this stage. Compression comes later, in one controlled pass.
Step 2: Resize to a fixed master size
Shopify's Help Center says a square product image of 2048 × 2048 px usually displays best. Its image-size guidance also notes that images need to be larger than 800 × 800 px for zoom to work. Product and collection images must be under 20 MB to upload. Several 2026 guides also put the dimension ceiling at about 5000 × 5000 px (25 megapixels), but treat that as a limit, not a target.
A practical sizing policy:
| Product type | Master size (long edge) | Why |
|---|---|---|
| Apparel, home goods, electronics, beauty | 2048 px | Sharp on high-density screens and supports zoom without excess bytes |
| Jewellery, watches, fabric texture, art prints | 2560–4096 px | Shoppers really do zoom in on fine detail |
| Accessories, clearance, low-stakes SKUs | 1200–1600 px | Lighter files; still above the zoom floor |
| Anything below 800 px | Re-shoot or source a better file | Zoom is unavailable and upscaling can't add back detail you never captured |
Resize with a good downsampling filter (Lanczos or a similar high-quality resampler). Avoid nearest-neighbour or "fast" modes. Resize before you compress. Compressing a 6000 px file and then shrinking it wastes effort and can soften edges unpredictably.
Step 3: Choose an upload format by image type
Shopify's Help Center lists PNG and JPEG as preferred product formats and also accepts TIFF, BMP, GIF, SVG, HEIC and WebP. AVIF isn't on that upload list. Shopify can still deliver AVIF to supporting browsers, generated from whatever you upload. So keep the master in a widely supported format and let the CDN decide what each visitor gets.
| Image content | Upload as | Notes |
|---|---|---|
| Photographic product shot on a white or plain background | JPEG (high quality) or WebP | The best general choice. Most of the weight saving comes from dimensions and sensible quality, not exotic formats |
| Product cut-out that needs real transparency | PNG or WebP with alpha | Use only when the theme shows the product over coloured or patterned backgrounds |
| Logos, icons, line art, size charts | PNG or SVG | Sharp edges and flat colour; lossy formats blur text |
| Lifestyle or hero photography | JPEG or WebP | Size these to the theme slot, not 2048 by default |
| HEIC straight from a phone | Convert to JPEG first | Accepted on upload, but converting gives you control over colour profile and quality |
The most common avoidable cost is a photograph saved as PNG. PNG is lossless, so a detailed photo usually comes out several times larger than a well-encoded JPEG or WebP with no visible benefit. If your catalog has white-background shots saved as PNG "for transparency" that they don't actually use, convert them.
Step 4: Compress once, at a quality that survives re-encoding
This is the step that keeps detail. Shopify re-encodes your image when it generates WebP or AVIF versions, so your upload is the first lossy generation and the CDN output is the second. Artifacts stack. An aggressively compressed master that looks fine at 100% can show banding in gradients or mush in fabric weave once it's been re-encoded and scaled.
Rules that hold up in practice:
- Use visually lossless quality, not minimum quality. For JPEG masters, a quality setting in the low-to-high 80s on most encoders is a reasonable starting range. Encoders don't share a quality scale, so judge by eye on your own images instead of copying a number.
- Strip metadata you don't need. EXIF camera data, GPS tags, editing history and embedded thumbnails add bytes and can leak information. Keep or convert to the sRGB colour profile.
- Watch the difficult content. Smooth gradients (packaging, glossy surfaces), fine repeating textures (knits, mesh) and small printed text (labels, ingredient panels) break first. Spot-check these at 200% zoom.
- Compress once. Never re-compress an already-compressed export. Always go back to the high-quality intermediate from Step 1.
- Set a file-size budget, not a fixed quality. Many teams aim for a few hundred KB per 2048 px product master. If one image blows the budget, look at the content (noise, texture, a busy background) before you lower quality across the board.
A smaller ecommerce image size is a side effect of doing these steps correctly. It shouldn't be the only goal.
Step 5: Bulk compress product images
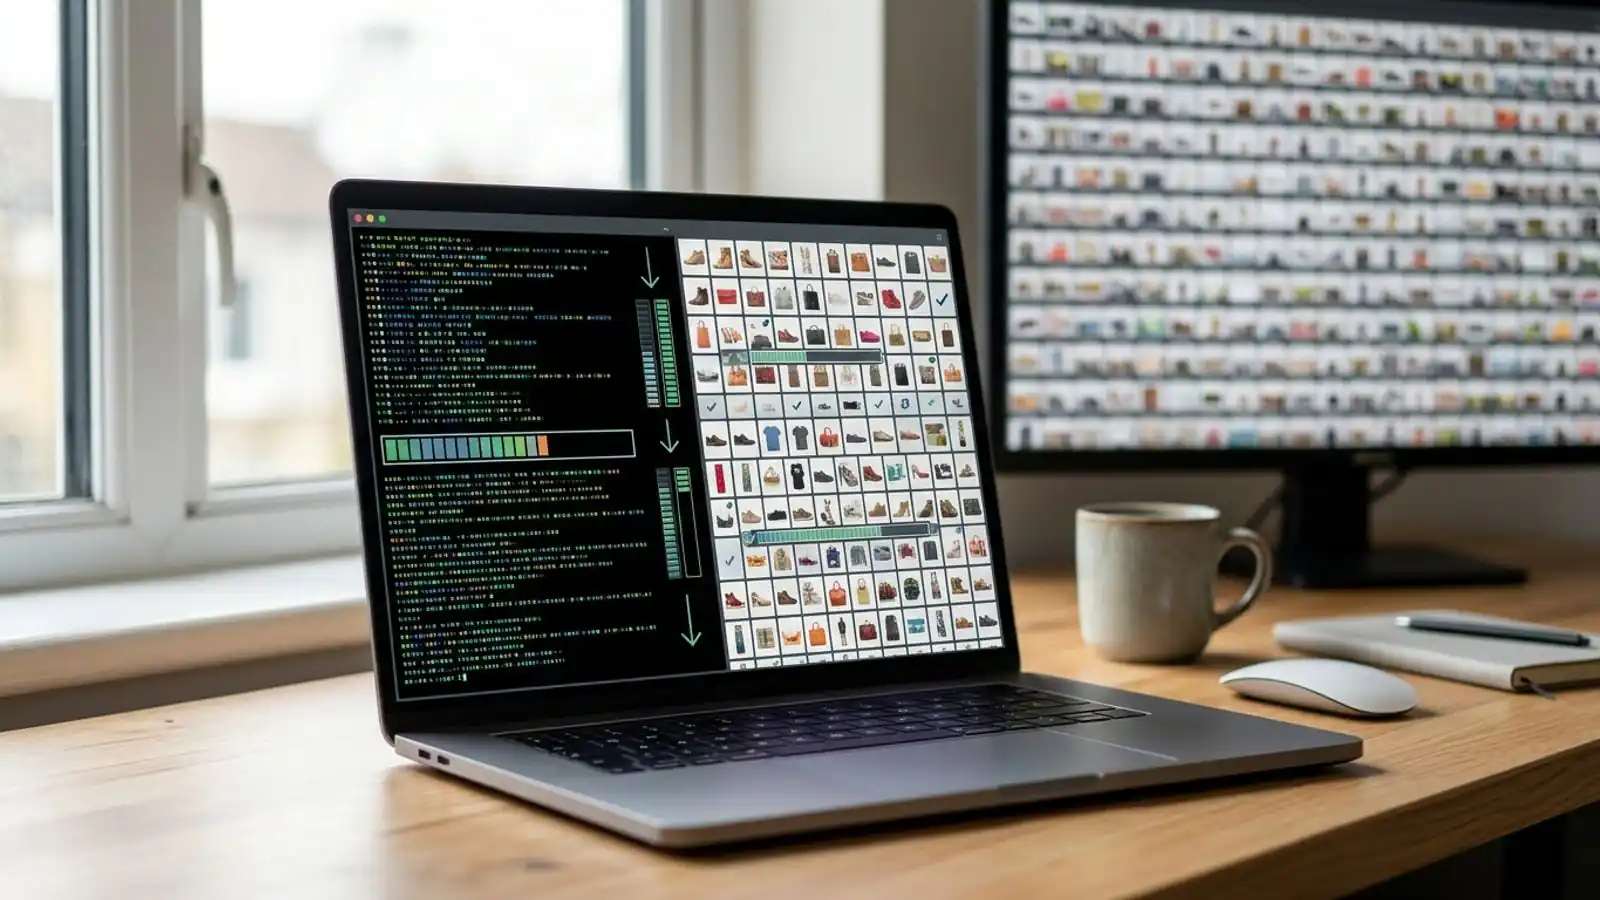
Doing this one image at a time in an editor works for ten SKUs. It doesn't work for a 3,000-SKU catalog, a seasonal drop or a supplier feed that refreshes weekly. To bulk compress product images reliably:
For one-off catalog cleanups
- Export the full set of masters into one folder per collection.
- Run them through a batch compressor with the same settings for the whole set (dimensions, format, quality, metadata stripping).
- Compare a random sample against the originals at 100% and 200% before you upload.
For ongoing pipelines
- Put compression behind an API call between your photo source (studio export, DAM, PIM or supplier feed) and the Shopify upload.
- Keep the settings in version control so every image is processed the same way.
- Log input and output size for each file so you can catch regressions, such as a new photographer exporting 8,000 px PNGs.
A simple pipeline looks like this:
studio export / supplier feed
        │
        ▼
resize to master (e.g. 2048 px long edge, sRGB)
        │
        ▼
compress + strip metadata (one pass, fixed settings)
        │
        ▼
upload via Shopify admin / CSV / Admin API
        │
        ▼
Shopify CDN: resized variants + WebP/AVIF negotiation
Step 6: Upload and let the CDN handle delivery
Once the masters are clean, stop optimising and let Shopify deliver them.
- Don't hand-upload separate WebP and AVIF versions of the same product image. That fragments your media and works against Shopify's per-browser negotiation.
- Be wary of "WebP converter" apps whose only job is a conversion Shopify already performs. Apps that reduce source weight before upload can still help. Apps that inject extra scripts on every page have their own performance cost.
- Use the theme's image filters. In custom Liquid, use
image_urlwith a width andimage_tagso the theme outputs a responsivesrcset. Theimage_urlfilter requires a width or height. Leaving out sensible widths is a common reason mobile visitors download desktop-sized files. - Don't lazy-load the main product image. Lazy-load gallery thumbnails, reviews and related products, but load the first product image (usually the LCP element) early.
Step 7: Verify in the browser
Check what visitors actually receive, not what you uploaded:
- Open a product page in Chrome DevTools → Network → filter by Img.
- Reload and confirm product images come back as
image/webporimage/avifin a modern browser. - Sort by size. A large file shown in a small slot means the theme is requesting the wrong width.
- Look for images served from domains other than Shopify's CDN, such as app widgets and badges. These skip the optimisation entirely.
- Run the page through PageSpeed Insights (mobile first) before and after the change, and compare LCP.
Pre-upload checklist
Use this for every batch:
- [ ] One aspect ratio per collection, with consistent padding
- [ ] Master resized to the policy size (e.g. 2048 px long edge; larger only for detail-critical products)
- [ ] Nothing below 800 px on the long edge
- [ ] sRGB colour profile
- [ ] Photos are JPEG or WebP, not PNG, unless transparency is actually used
- [ ] Compressed once, from a high-quality intermediate
- [ ] EXIF/GPS metadata stripped
- [ ] Spot-checked gradients, textures and small text at 200%
- [ ] Each file within your size budget, well under Shopify's 20 MB limit
- [ ] Descriptive filenames and alt text ready (e.g.
black-leather-chelsea-boot-side.jpg)
Common mistakes that cost detail
- Compressing too hard to hit a Lighthouse score. The CDN re-encodes anyway, so a starved master just means worse artifacts in the delivered file.
- Uploading tiny images to "save space". Shopify won't upscale, so zoom disappears and high-density screens show softness.
- Recompressing old exports. Each lossy pass adds damage. Go back to the source.
- Treating every image the same. A size chart PNG, a lifestyle hero and a ring macro shot need different settings.
Try it on Comprestack
If you're cleaning up an existing catalog or setting up a repeatable pipeline to optimize Shopify product photos, Comprestack handles the resize, compress and convert steps in one pass:
- Batch-compress or convert a folder of product images on the Comprestack home page. Resize to your master size, convert stray PNG photos to JPEG or WebP, and strip metadata with consistent settings.
- Automate it with the API. The API docs cover adding compression between your studio export or supplier feed and your Shopify upload.
- Compare plans on the pricing page. There's a free tier for testing your settings on a sample batch, with Pro and Business plans for ongoing catalog work.
- Agencies managing several stores can look at White label, a branded UI and API on prepaid credits.
Questions about a specific pipeline? Contact us.
Try it on your images
Compress or convert in the browser — same quality-first pipeline we write about.